How the Race Photo Timing Calculator Works
The Race Photo Timing Calculator converts a runner's target pace, race distance, and expected pacing profile into precise estimated passing times at every selected point on the course. Unlike simple pace-times-distance calculators, this tool models realistic pacing behavior — because almost no one runs a perfectly even race.
The calculator offers four pacing profiles based on sports science research on marathon split data. The "Typical" profile models the most common pattern observed in large marathon studies: runners start 1-2% faster than their average pace, maintain pace through halfway, then gradually slow by 4-6% in the final quarter. The "Negative Split" profile reverses this, modeling a 3% slower start building to a 5% faster finish. The "Aggressive Start" profile accounts for the common mistake of going out too fast, producing the widest uncertainty windows at late-race checkpoints.
For each photo point, the calculator generates a time window that widens with distance, reflecting the natural uncertainty of race pacing. A runner's 5K split is highly predictable (within 1-2 minutes), but their 35K time could vary by 5-7 minutes depending on conditions, hydration, and how they manage fatigue. The tool also evaluates the natural lighting conditions at each point based on clock time, because a 7:30 AM golden-hour photo will look dramatically different from a harsh 12:00 PM midday shot.
Photography tips are tailored to each race segment. Early-race tips focus on dealing with dense packs and capturing fresh, smiling runners. Mid-race tips emphasize form shots and aid-station action. Late-race tips prioritize emotional moments and the pain-to-triumph transition that produces the most treasured race photos. All results can be printed as a pocket-sized timing card to carry on race day.
The Complete Guide to Race Day Photography
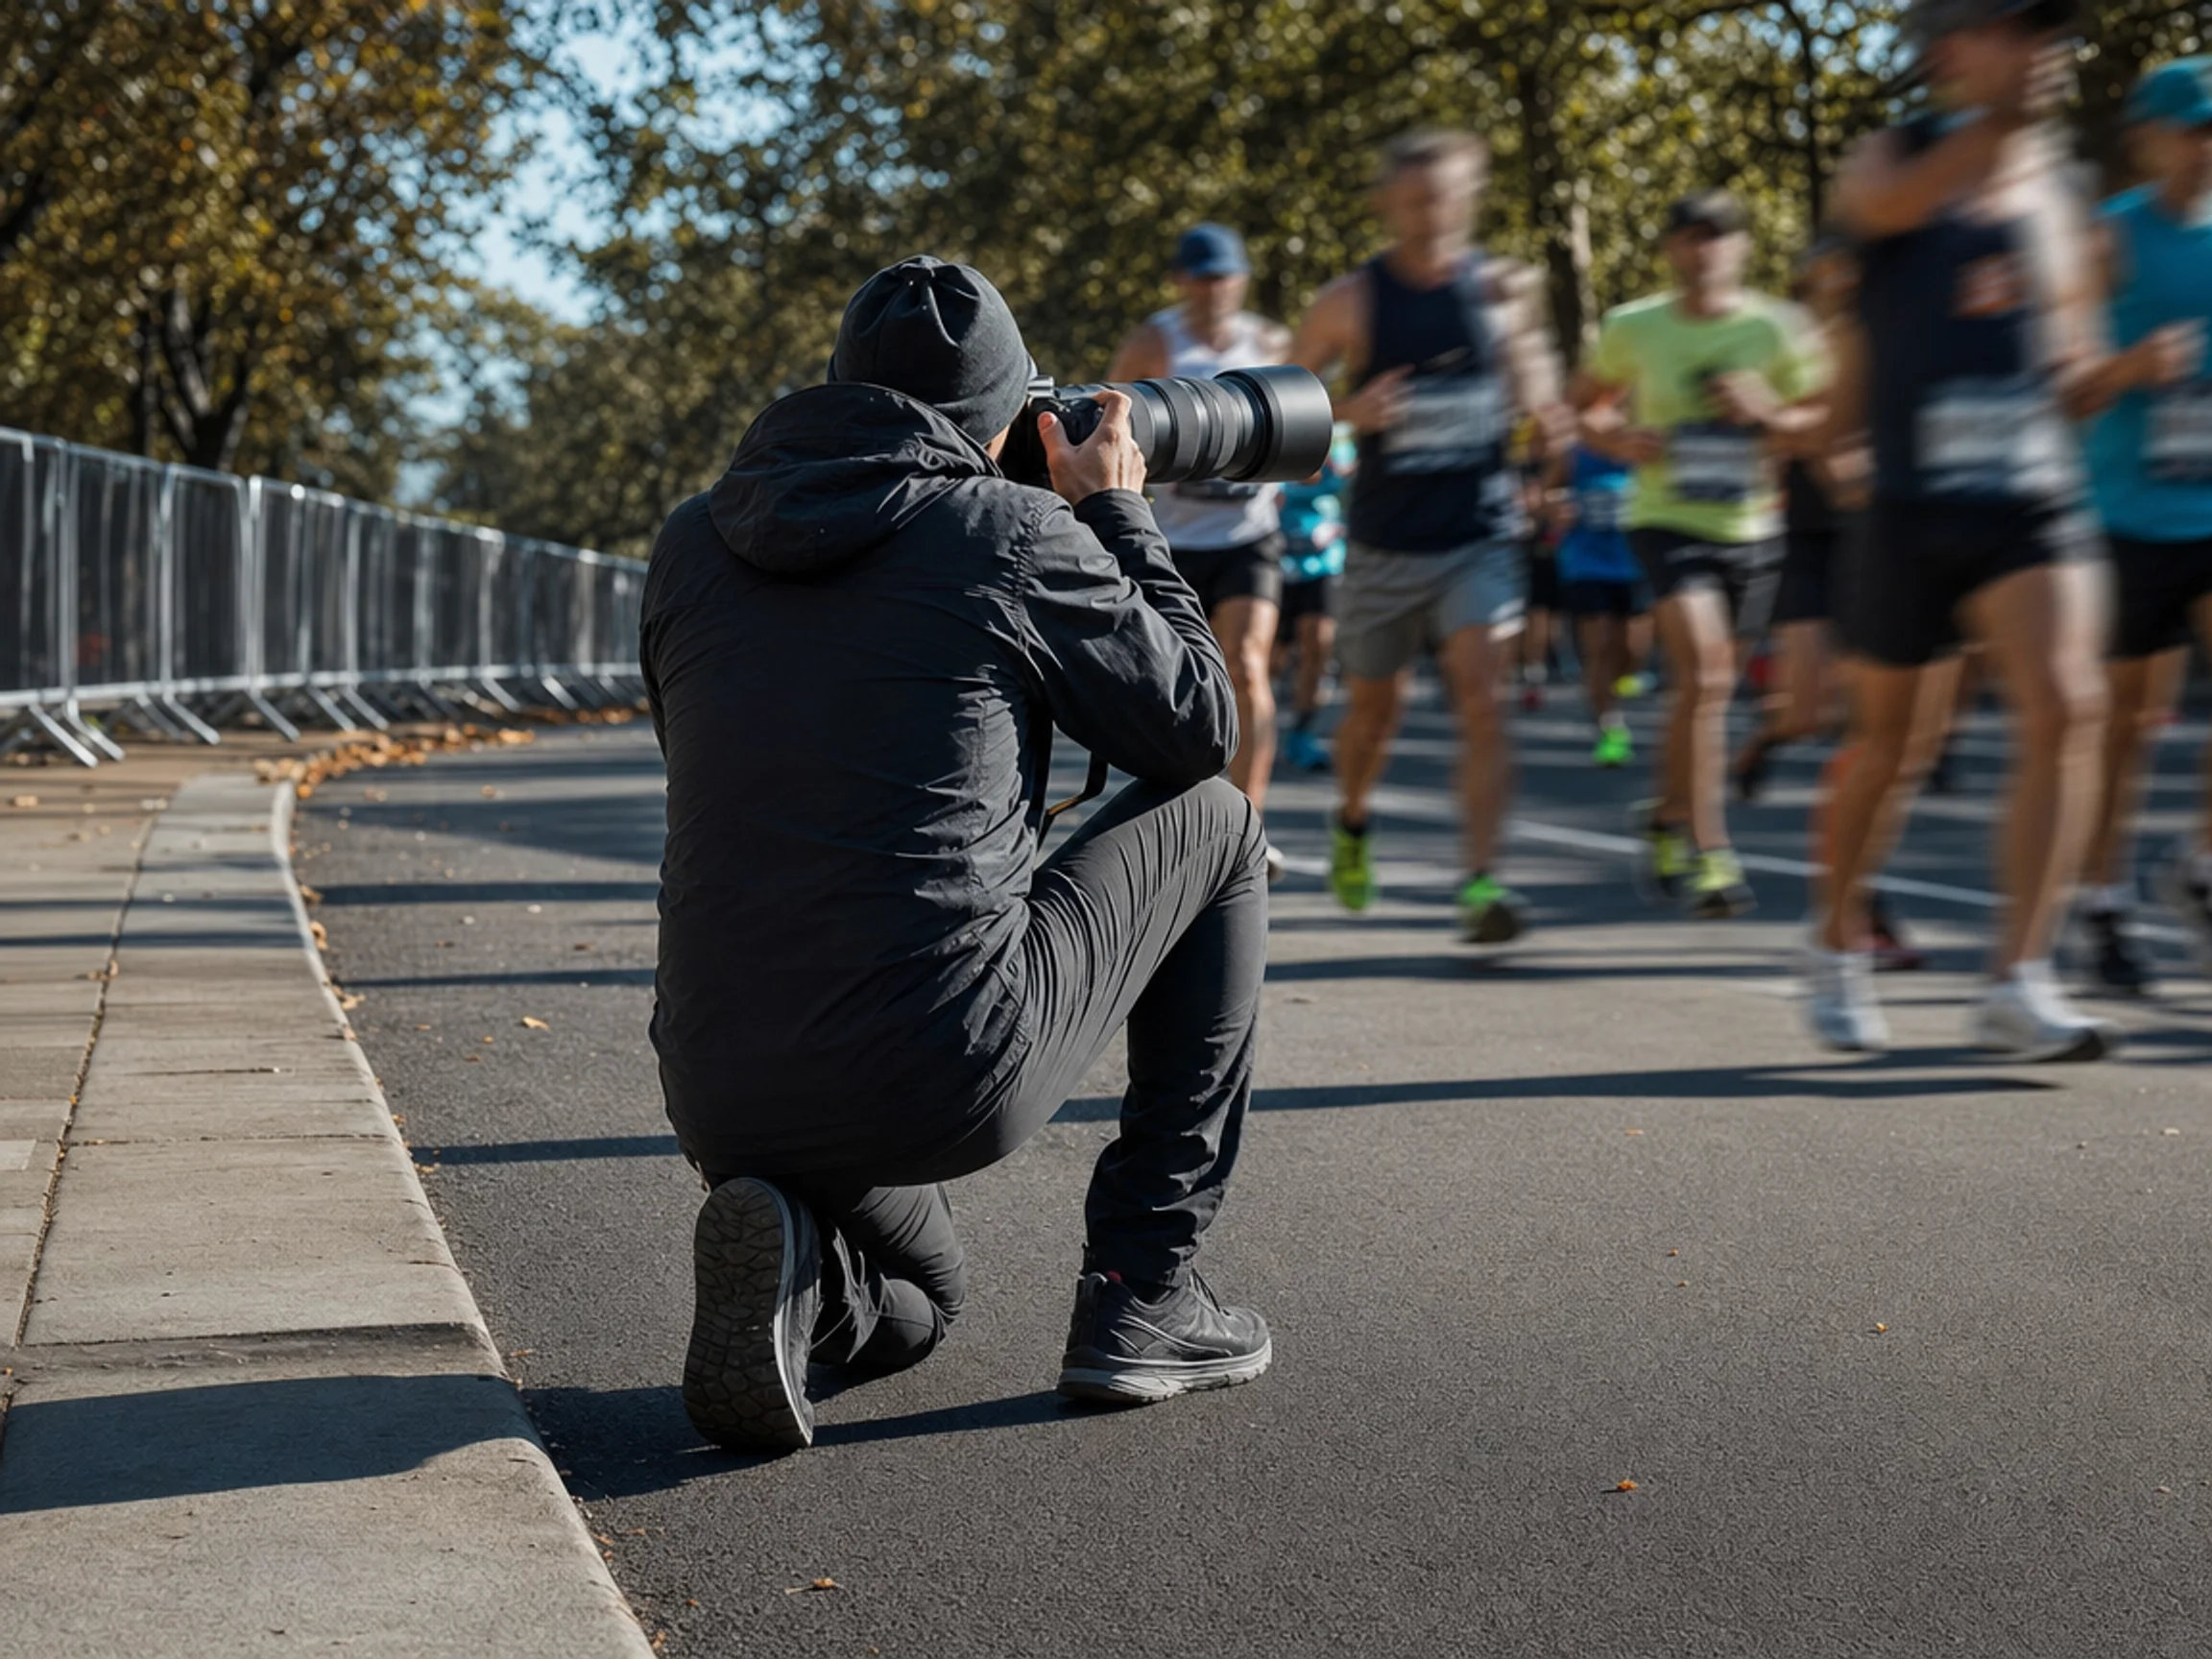
Photographing a running race combines the challenges of sports photography with the unpredictability of outdoor event coverage. Whether you're a spectator with a smartphone or a photographer with professional gear, understanding the unique dynamics of race photography will dramatically improve your results.
Preparation starts before race day. Study the course map to identify curves, landmarks, and elevation changes. Turns are the best photo locations because runners spread out and you can see them approaching from a distance. Straight sections in the first few kilometers are the worst — the pack is dense and it's nearly impossible to isolate one runner. Many race organizers publish course maps with spectator-friendly zones marked; use these as your starting point.
Timing is everything in race photography. The biggest mistake spectators make is looking down at their phone and missing their runner entirely. Instead of relying solely on time estimates, watch the bib numbers of passing runners. If your runner targets a 4:30 pace, watch for bib-number density around that pace group. When you see runners within 1-2 minutes of your target pace, start shooting continuously. Use burst mode liberally — storage is cheap, and the perfect expression lasts only a fraction of a second.
The emotional arc of a race creates different photographic opportunities at each stage. In the first 25% of the race, runners are fresh, excited, and photogenic. This is your best chance for a clean, well-composed portrait with a genuine smile. The middle third (25-65%) captures determination and athletic form — side-angle running shots work well here. The final third is where race photography becomes truly powerful: the visible fatigue, the grimaces, the tears, and ultimately the triumph of crossing the finish line. The 35K-40K zone of a marathon produces some of the most emotionally raw images in all of sports photography.
Technical considerations for race photography center on freezing motion while maintaining image quality. A shutter speed of 1/500 second is the minimum for sharp runners at full stride; 1/1000 second is safer if lighting permits. Use continuous autofocus to track the runner as they approach. Pre-focus on the spot where you expect to take the shot, then refine as they enter the frame. For smartphones, the camera app's burst mode (holding the shutter button) captures 10 frames per second on modern devices, giving you plenty of frames to choose from. Enable HDR for better highlight and shadow detail in mixed lighting conditions.
The Science of Marathon Pacing and Prediction
Understanding how runners pace themselves is essential for accurately predicting when they'll pass each point on the course. Research published in the International Journal of Sports Physiology and Performance by Santos-Concejero et al. (2017) analyzed pacing data from thousands of marathon finishers and identified clear patterns that depend on ability level, experience, and race conditions.
The most common pacing pattern is a slight positive split — running the first half faster than the second half. Analysis of major marathon results shows that approximately 75% of recreational marathon finishers run a positive split. The typical slowdown is 4-8% in the second half, with the most significant deceleration occurring after the 30-35 km mark. This is the pattern modeled by the "Typical" pacing profile in this calculator.
Elite runners, by contrast, are more likely to run even or slight negative splits. A study by Haney and Mercer (2011) in the Journal of Strength and Conditioning Research found that top performers in major marathons maintain remarkably consistent kilometer splits through 35 km before a modest acceleration in the final 7 km. This disciplined approach to pacing produces the most predictable passing times, which is why the "Even Pace" profile has the narrowest time windows in the calculator.
The "wall" phenomenon at 30-35 km is the single largest source of timing uncertainty in marathon photography planning. When glycogen stores deplete, runners can slow by 20-40% in extreme cases. This is why the calculator's time window expands significantly for checkpoints beyond 30 km when using the "Typical" or "Aggressive" pacing profiles. For spectators and photographers planning late-race photo points, the practical advice is simple: arrive at the early end of the time window and be prepared to wait. It is far better to be in position early than to miss your runner because you cut the timing too close.
Environmental factors also affect pacing. Heat slows runners by approximately 1-2% per degree above 15°C (59°F), wind resistance adds 2-8% to effort on exposed sections, and humidity above 60% impairs the body's cooling mechanisms. When photographing on a hot day, expect your runner to pass later than the calculator estimates, especially at later checkpoints where cumulative heat stress has the greatest impact. Conversely, cool overcast conditions (10-15°C) produce the most predictable pacing and the most accurate timing estimates.